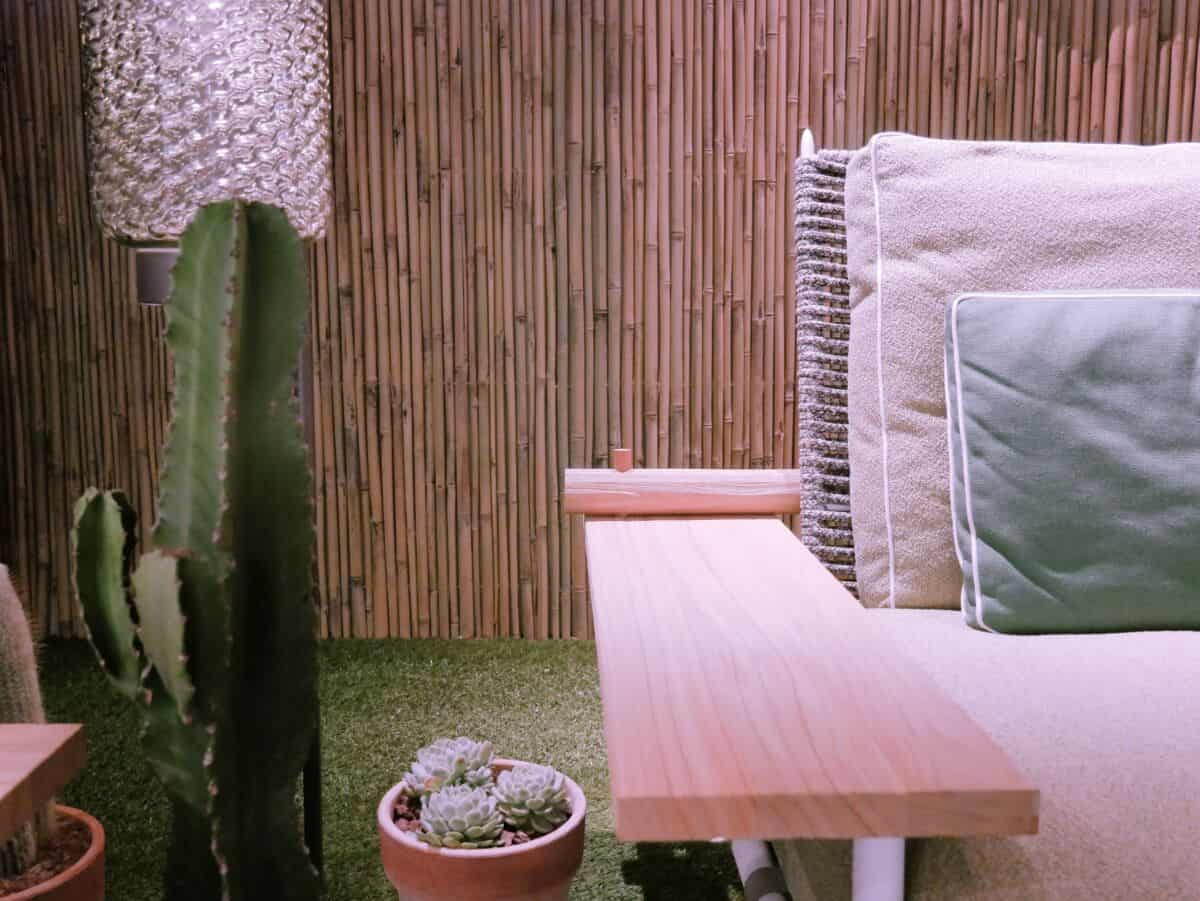
Whether you’re living in a big house or a small apartment, daybeds are the perfect addition for balconies. Most people go out and buy a whole set, but you can DIY the project and make your own right from home. With a few simple tools and supplies, you’ll be relaxing in luxury in no time.
Wondering how to create a small balcony bed? Here are the steps:
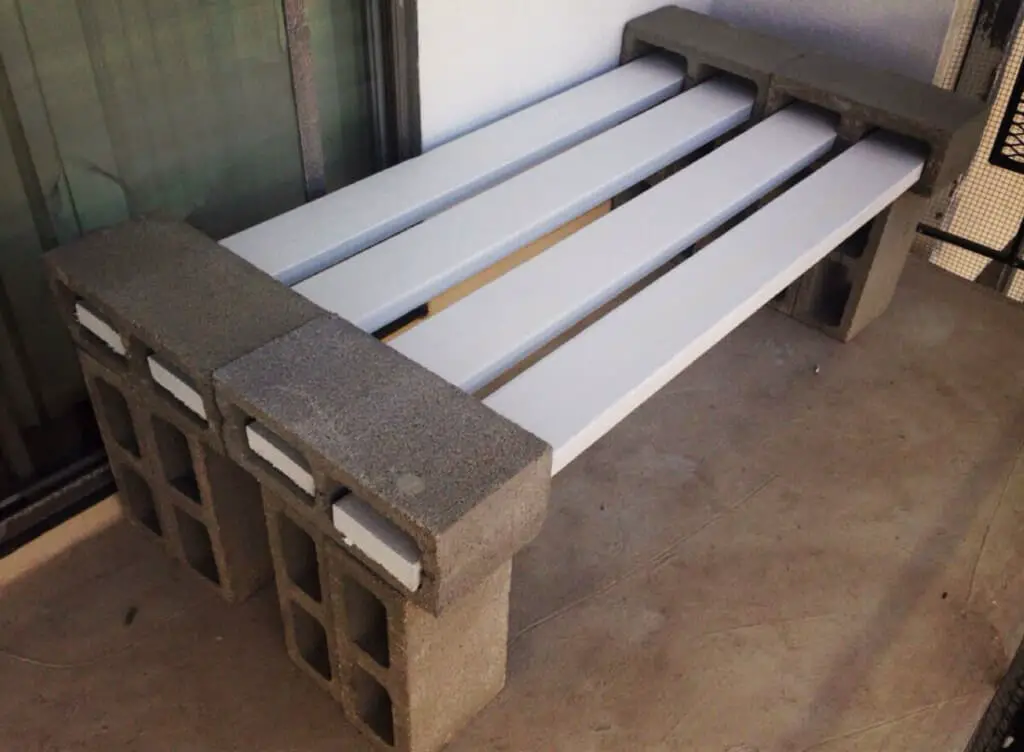
- Place two sets of four vertical cinder blocks about 5 feet apart from each other.
- Put cinder blocks sitting horizontally over both sets (four in total).
- Slide 2 x 4’s through the holes in the horizontal cinder blocks.
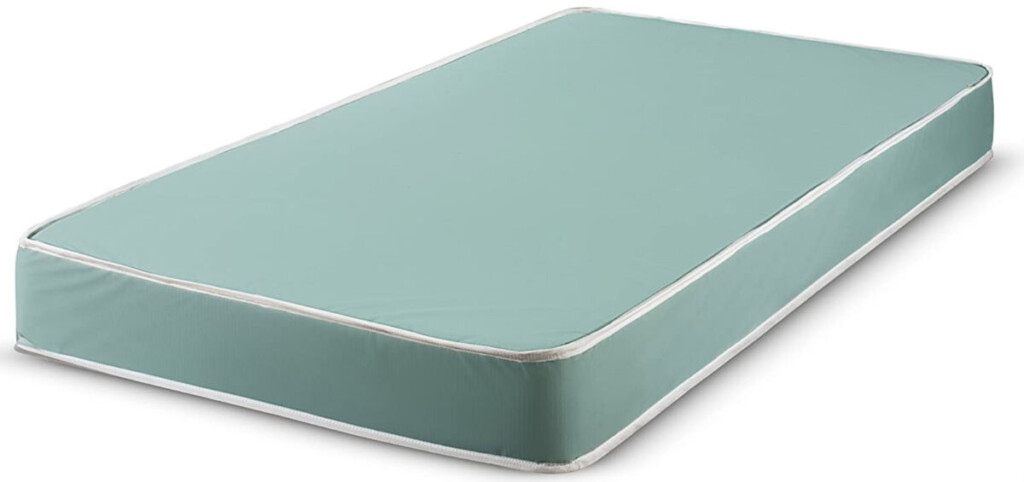
- Lay a comfortable outdoor mattress over the top of the 2 x 4’s.
- Load the mattress with all of your favorite pillows and blankets.
Throughout this article, you’ll also learn the tools and supplies you need for the job, as well as a detailed step-by-step guide for the entire build. You’ll also get answers to the most frequently asked questions and learn about common mistakes that you can avoid.
Supplies & Tools to Make a Small Daybed
In order to make the simplest daybed for your balcony, you’re going to need to get your hands on a few different items. Some of them are common household supplies, whereas others might require a trip to the local hardware store.
Before you head out on a shopping trip, make sure that you measure the size of your balcony. You’ll need to know which size cinder blocks to buy, as well as the color of the wood and mattress that covers it. The goal is to have this low-cost DIY daybed to look fancy, not like a tacky budget bed!
Here’s a list of supplies and tools to make your small cozy daybed:
- 12 cinder blocks to form the base of the bed
- Four wooden boards (they should match the width of the cinder block holes)
- A daybed mattress (something that can withstand rain and direct sunlight)
- Concrete epoxy resin
- Zip ties
Despite the list of heavyweight items, you can build this daybed in under 15 minutes (not including the time for the epoxy to dry). It’s quite a simple DIY build, so without further ado, let’s dive into the details below.
How to Create a Cozy Daybed for Your Balcony: Step-by-Step
Once you’ve gathered all of the supplies mentioned above, it’s time to start constructing the cozy daybed for your balcony. Don’t skip out on the zip ties or epoxy since they’re the only two tools that are keeping your daybed from loosening up over time.
Note: Wood can develop rot and weak spots if you don’t treat it properly. If you’re worried about adding an extra step, considering purchasing water-resistant wood. Homify mentions the different types of water-resistant wood and coats that you can try out.
Here’s the quick step-by-step process to make your own daybed for your balcony:
- Place two cinder blocks side by side sitting vertically. About five inches to the right of it, place another set of two cinder blocks sitting vertically as well. Next, place the exact same two sets of cinder blocks about 5 feet opposite of each grouping. You should have four sets of two vertical cinder blocks in the shape of a rectangle.
- Zip tie all of the cinder blocks together in their own sets. You should have it resting in the same rectangular shape, but now each set of two should be zip tied together. This grouping will prevent the cinder blocks from disconnecting while you’re moving everything around.
- Put a horizontal cinder block on top of each set of two cinder blocks. Again, it’ll be the same rectangular shape, but every set of zip-tied cinder blocks should have a cinder block resting horizontally on top of it. The two short sides (opposite of each other) should have the horizontal cinder blocks touching each other with zip ties for security.
- Next, place 2 x 4’s through each of the holes in all of the horizontal cinder blocks. You’ll only need a total of four 2 x 4’s since there are only eight holes (one board slides from one side to the other, connecting both short ends of the rectangle. This step is when you’ll see the shape of the daybed take place.
- Once you’ve created the daybed that’s sitting loosely, use concrete epoxy between the cracks everywhere that cinder blocks touch each other. Don’t remove the zip ties yet, as they’ll act like a vice to hold the epoxy while it hardens. The best concrete epoxy on the market currently is the PC Products Concrete 2-Part Epoxy.
- Hammer nails or drill screws through the 2 x 4’s to secure them to the cinder blocks. You might need to use concrete screws or anchors to hold them in place. Regular screws will become loose over time, causing the daybed to fall apart.
- Lay an outdoor mattress on top of the wooden 2 x 4 platform. The Fortnight Bedding Foam Mattress is recommended since it comes with a water-resistant vinyl cover, but you can choose whichever one you prefer. As long as it doesn’t allow water to penetrate the mattress, you’ll be good to go.
- Drape a blanket over the mattress and the sides of the cinder block legs. The result will look like a traditional cozy daybed. You’re the only one who knows that it cost next to nothing while providing ultimate comfort for your balcony. Load it up with all of your favorite pillows and relax as long as you’d like.
Note: You can prevent the mattress from sliding around by using adhesive patches to secure it in place. The Hook & Loop Tape from Cocoboo is a great product for the job.
Common Concerns
Now that you’ve seen the simple 8-step process to make your own daybed for your balcony, you might have a few questions.
Fortunately, you’re not alone in this. Let’s examine the most common issues that people run into while building one of these practical, budget-friendly daybeds below.
- No, you can’t skip the epoxy or zip ties. These supplies are an absolute necessity. Even if you find the perfect size for your 2 x 4’s to wedge right into the cinder blocks, they’ll start to slide around. Anyone who lays on the daybed will fall right through after a few subtle movements.
- You can protect the hard edges of the cinder blocks from injuring someone by placing pillows around the sides of the day bed. The top of each cinder block will be covered by the mattress, but the exposed edges won’t pose much more of a threat than traditional store-bought wooden daybeds.
- Make sure the wooden boards are wide enough. If you use thin boards (width or depth), the mattress will slip and slouch through the cracks or break right through. Either scenario is obviously negative, so always use thick, wide wooden boards.
Conclusion
Daybeds are a long-lasting outdoor comfort solution that you can’t find in any other type of furniture. Despite the soaring costs for these convenient beds, you can avoid them and spend under $100 to make your own at home. The best part is that you’ll have the satisfaction of a self-made project paired with the relaxation that it provides.
Here’s a quick breakdown of the post:
- Don’t forget to use zip ties and concrete epoxy.
- Cinder blocks, wooden boards, and a mattress are the main supplies that you’ll need.
- This project can be completed in under an hour (even less if you’re experienced).
- Make sure that the wood and mattress are both water-resistant.