Extending a concrete balcony sounds expensive, impossible, or impossibly expensive. Whether you want more space to enjoy your balcony or you’re trying to protect the window below it, an extension might be what you need. Once you get your materials and tools ready, it’s relatively easy for mechanically inclined people.
To extend a concrete balcony, you need to get the necessary permits, map out the boundaries, and drill holes to create a foundation. Lay down the support beams, pour the concrete to solidify the pillars, create the balcony, and then let it dry. You can place railing around the balcony.
Throughout this article, you will also learn the following info about how you can extend a concrete balcony:
- Step-by-step instructions to complete the project on time
- Different tips and tricks to make it easier on yourself
- Possible problems that you might run into along the way
Decide How Far You’ll Extend the Balcony
Before you get started, you must know how far it will go. You won’t get the proper materials if you’re not sure how far the balcony should extend. Keep in mind that longer extensions require more support beams, concrete, and other supplies. Furthermore, it’ll also take quite a bit more time.
If you’ve never extended or installed a balcony, then you might want to consider getting a professional’s opinion. They’ll be able to help you map out the blueprints before you start drilling and pouring concrete. It’s also a good idea to get your plans verified if you make them up on the spot.
Gather the Tools and Supplies
Get everything you need before you start drilling, nailing, or pouring. The last thing you want is the need to stop in the middle of the job to head up to the hardware store. Fortunately, everything you’ll need is listed below.
- Get a drill with a wide range of drill bit sizes.
- Make sure you have enough concrete ready to go.
- Purchase at least two metal support beams/columns.
- Several 2 x 4’s (the amount depends on how big the balcony will be).
- Hundreds of screws (at least two inches long to go through the boards).
- (Optional) Materials for railing and/or coverings to go over the balcony.
- Get a shovel or jackhammer.
Get a Permit for the Project
Construction almost always requires permits. If you’re unsure if you need them, call your local authorities or research the local newspaper. Building without permits can lead to fines and removal of the structure. In other words, you could spend a bunch of time and money building the extension and have it torn down.
Fortunately, it’s not too hard to get approved for a concrete slab extension. All you have to do is come up with blueprints that can be verified by someone who’s licensed. Contractors and architects can verify your blueprints.
Note: The best way to get permits is to contact builders near your house. They’ll be able to guide you through the approval process.
Extend the Frame
The Journal of Light Construction suggests that you use multiple 2 x 4’s to extend the frame’s base. It has to be about four feet out. Create a box that’s the same shape as the rest of the balcony. Wooden decks reduce the weight of the extension while increasing integrity and longevity.
Dig Holes Into the Soil
If the extension is long enough (over five feet or more, in most cases), you’ll have to add support columns that go down to the soil. Otherwise, the concrete will crack and fall. Drill holes that are at least three feet into the ground. Most people use a shovel, but you might have to use a jackhammer if it’s dense.
Make the hole three feet deep and at least one foot wide. The pillar won’t fill the entire hole, but it should be big enough to fill with concrete. You’ll learn more about the columns in the next section. For now, focus on digging the hole directly below the front right and front left of the concrete slab.
Extend the Balcony With Support Columns
Once you have the holes dug below the concrete balcony extension, you’ll need to drive the support columns through the aforementioned wooden deck and into the ground. These columns can fit inside of two 2 x 4’s that are cornered at a right angle. The column will hide behind the 2 x 4’s, making them hidden from plain sight.
When the columns are in the ground and through the deck, it’s time to pour the concrete into the holes that you dug. Fill them to the top, ensuring that there aren’t any air bubbles. Slow pouring is always the best course of action to prevent errors.
Create Slots for the Concrete
On the boxed wooden frame above the columns, line multiple 2 x 4’s sitting vertically. They’ll act as reservoirs or valleys for the concrete to hold its shape. They’ll also prevent the structure from cracking if there’s an earthquake or too much weight placed on the concrete slab.
Drill the wooden boards into the box about nine inches apart. Use screw glue to keep them secured in place. If there’s the slightest wiggle, you’ll have to figure out a way to tighten or replace them. This step is one of the most influential parts of the process for security and durability purposes.
Pour the Concrete
Slowly pour the concrete into the reservoirs that you created. All of the vertical slots should be filled with concrete before you head onto the next one. Keep an eye on the support columns and the rest of the wooden frame as you pour. If you notice bowing or movement, you should stop pouring the concrete immediately.
Use a screed to smoothen the concrete before it dries. If you don’t smoothen it out, the concrete will form bumps, lumps, and cracks that will dry.
Consider Covering the Balcony
Although it’s unnecessary, covering the balcony will preserve the concrete and keep you cool when you’re outside. You can use umbrellas, standing canopies, and built-in balcony covers. There’s also the option of extending the roof to cover the balcony, though that option doesn’t always look the best.
If you cover the balcony, make sure that you let the concrete thoroughly dry. Don’t step on it or shade the slab because it could slow the drying process.
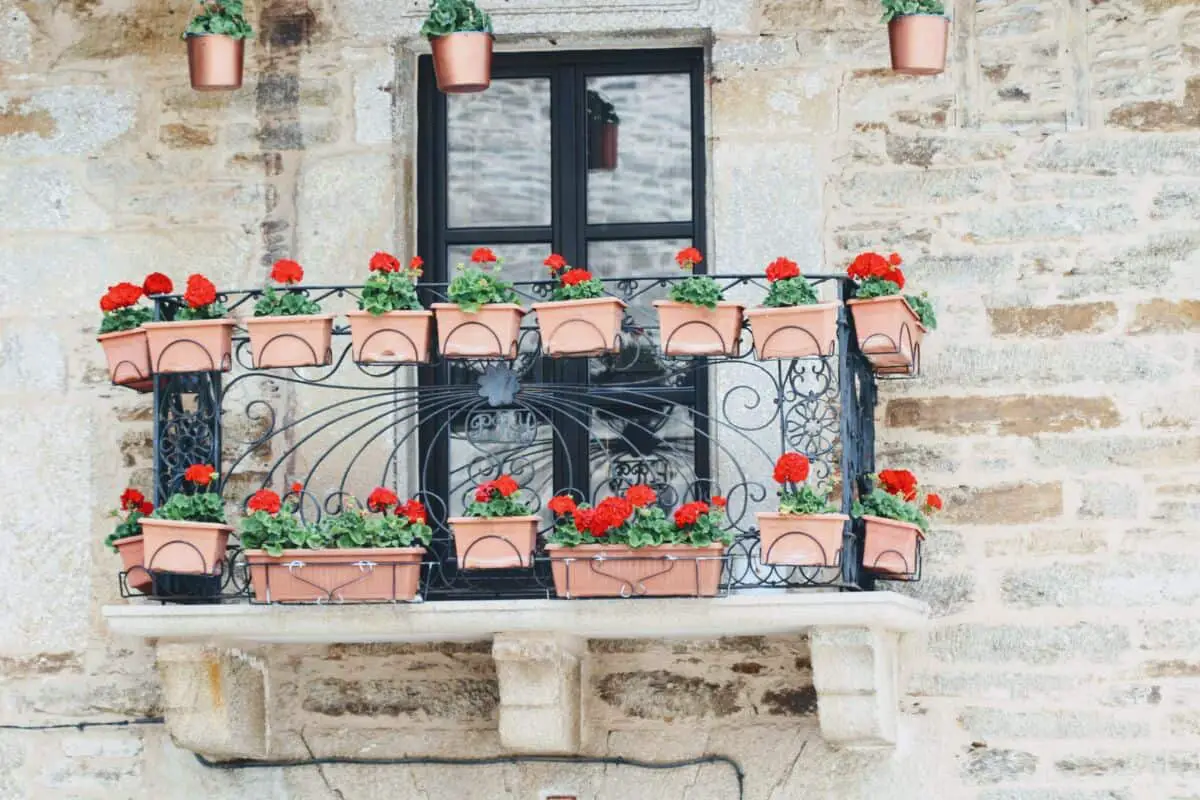
Place Railing on the Concrete Slab
Another optional addition is to add a railing. The Renovate Forum recommends that the railing should come last. Let the concrete solidify, drill the holes, and add the railing. Another method is to drill pilot holes and then use screws to secure the railing to the side of the house, extending around the balcony.
Railing adds safety and structure, so it’s highly recommended.
Conclusion
Extending a concrete balcony doesn’t have to be a headache. With this guide, you’ll be able to finish the project without worrying about mistakes. Get your permits, get them approved by a licensed contractor, and decide how big the slab should be. As long as you stick to the steps, the job will go smoothly.
Here is a quick rundown of everything this post should have taught you:
- Always gather all of your supplies before you get started.
- Create vertical slots with 2 x 4’s to make reservoirs for the concrete.
- Consider adding covers and railing to protect your balcony.
- Get permits before you get started, so you don’t get a fine.