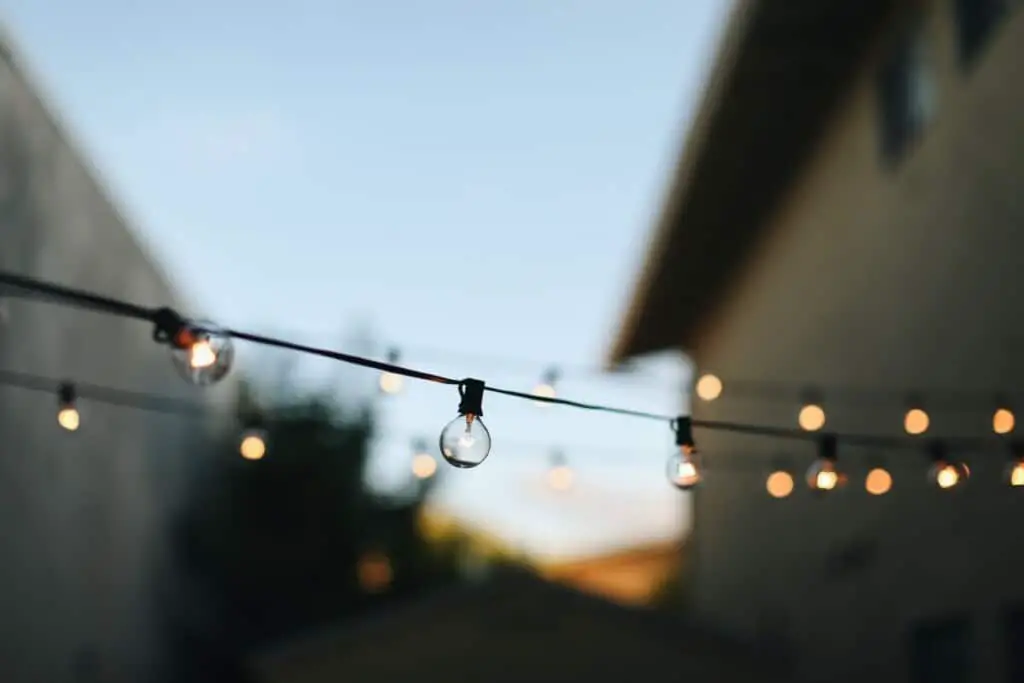
While the summer has been glorious this year, the current travel restrictions are still stopping us from enjoying the much-deserved holiday. Yet, your balcony or patio can become a little paradise just by adding the right furniture and string lights. When it comes down to hanging them, some tips can help you achieve that Instagram-like style for your balcony!
To hang string lights on your balcony, start by identifying the right lights and location on your balcony. Here is where you will understand if you need extra poles or have enough anchor points. Add screw eyes and hang the lights with small carabiners. Secure loose cables and connect the lights!
There is just a little more that you should know before diving into your weekend project – read on!
1. Consider the Type of Lights
While the majority of string lights, food patios, and balconies are classic weather-resistant, sturdy, exposed-bulbs models, they are not the only viable option on the market. Today, you can find an endless variety of outdoor lights, which change in colors and power.
It is extremely important to get the light color right before committing to a purchase. Indeed, a cold white can drastically cool down the atmosphere, while a warm light is more likely to make you feel cozy and at home.
The lumens of such lights – or the amount of visible light emitted by each bulb – should be high enough that you won’t need to rely on another source of illumination after sunset.
These two factors, as well as ensuring that the lights are indeed waterproof, can be an excellent solution to your garden.
2. Draw a Sketch of Your Balcony or Patio
Before gathering all the materials you need to hang the lights, it is essential to know where you wish to hang them. If you are not alone in your household, gather the rest of your family, and explore the many possibilities.
Some factors to consider as you draw your patio and the string lights’ position are:
- The location of furniture, in particular, dining tables, coffee tables, and chairs
- Significant landscape points, such as swimming pools, decks, or BBQ area
- Plants, houseplants, and flower beds
- The position of the nearest plug or source of power
Unfortunately, the factors above will limit the number of positions you are thinking about for your string lights. However, when considering these details, you will know that your lights are near a place where you spend time, linkable to a plug, and not disrupted by landscape additions.
3. Determine If You Need Poles
As you are drawing your sketch, you will also start to have a look at the anchor points, or the places where you will implant screw eyes that hold the lights. If you have found the perfect location for your lights, you might almost be ready to go.
However, some balconies and gardens are not blessed with enough points that can be used as a sturdy base. You might need to consider adding poles – even lightweight models or wooden ones. These can help you create the pattern with the lights that you had in mind.
4. Gather Lights, a Ladder, a Pencil, and a Drill
Here is the complete list of tools your need to gather before starting your project:
- String lights
- Bulbs (if separate)
- Ladder or stool
- Drill
- Pen or pencil
- Screw eyes
- Carabiners – ideally in metal and small in size
- Extension cord for outdoors if needed
- Outlet timer if needed
- Clips and hooks to secure any loose cable section
5. Identify the Anchor Points
Now that you have everything, make your way to your balcony and identify the main anchor points for your lights. You would have pinpointed them on the sketch you had drawn of your balcony.
Now, ready with a pencil to sign the exact point, you should do the exercise of translating the sketch indication into your real balcony. While this step can be time-consuming, you should make sure that the points do correspond to the ones on the sketch. This step of hanging your outdoor lights is particularly important if you want to recreate the same pattern with the lights.
Once you have selected the anchor points, position the lights on them, making sure that the plug is near a socket. This can help you connect the light more easily later on.
6. Implant the Screw Eyes
The screw eyes – also known as eye bolt – are small devices that need to be implanted into a sturdy surface. While the half inserted resembles a screw, the top half is rounded to become a hoop.
To achieve a sturdy and durable result, use the drill to create holes in the surface – wood or walls – and then screw the bottom half of these devices in it. The hoop should remain out of the wall.
When inserting these small devices in your anchor points, it is important to keep in mind the effect of the lights you are trying to achieve. Here are two top tips for this step:
- If you want your lights to swing, set up the eye screws further from each other, and allow for extra cable length in between.
- If you want the lights to be tight and pulled, add an eye screw for every light.
7. Use Carabiners to Keep the Lights Up
Now that the eye screws are ready to host the lights, add carabiners through each hole. These carabiners should be small and, ideally, made of stainless steel metal to resist water and rust.
While carabiners are not always used, this solution allows you to keep the light in place in total safety while granting you the benefit of changing their location any time you wish.

8. Hang the Light Bulbs
Now that you have set up the carabiners run the string lights through it. If the carabiners are new and perfectly working, they should allow for the lights’ cable to tangle through, while holding the string in place.
Once the string is set and secure, attach all light bulbs, ensuring that they are secured and safely attached. If the strings are positioned above your reach, use a ladder to stay safe.
9. Fix Any Loose Cable
Now that all the lights are up, held in place by the carabiners, it is time to have a look at the final result. It is not unlikely to notice cables tangling in some locations, especially if your balcony follows an irregular shape.
You can quickly fix this by adding clips to the cable sections that don’t hold any lights. Use clips that can adhere to the surface at the back and can hold the cables in place without the need for strategies like tape or other more permanent solutions.
10. Attach the Lights to the Power
Now that everything with your outdoor lights is done, it is time to connect the lights’ plug to the power source. When doing so, ensure all lights are secured and in place to avoid accidents.
You can also find some more inspiration for your balcony in the video below.
Conclusion
String lights, just like fairy lights, can be extremely helpful to create an enchanted atmosphere in any garden, patio, or balcony. String lights allow you to live in your outdoor area more during the summer months and save on electricity bills.
However, hanging them in the right location is essential to avoid a messy look that can ruin your balcony’s atmosphere in a flash. For better control over lumens and light color, pick solar-powered lights or try them before committing to the purchase.
When hanging them on your balcony, create a sketch beforehand so you have an idea of what the finished project will look like.

