Stuck at home but wishing you could go camping? Imagine staring out at the night sky while drinking beer, eating delicious food, and enjoying good company. You can experience all of this right from the comfort of your own balcony!
If you find yourself longing for a night out in the mountains, then why not bring the mountains home? Figuratively speaking, of course. That’s what Clare and Miho decided to do on the small balcony of their apartment in the city of Kobe, Japan.
They turned a boring gray slab of concrete into a lush green field just outside their home!
Clare and Miho were kind enough to do an interview and share with us their process for creating their own little campsite right on their balcony.
Read on to see how you can recreate this look for your home.
The Motivation Behind the Look
Clare has been living in her apartment for about 2.5 years now, and her girlfriend, Miho, joined her about a year ago. They love going out and traveling, but recent events have made that impossible for the time being. Many couples are spending more time at home together, and it can be hard not to drive each other crazy—especially while living in small apartments like the ones in Japan.
Balconies are often overlooked as spaces where you can go out, relax, and spend some quality time. The decor options are endless and there are so many fulfilling ways that you could transform your balcony into something that’ll suit your needs.
“While being stuck in a small apartment all day long with my partner, I felt the need to create another space aside from the living room sofa for us to hang out. I wanted to do something with my balcony for a while now, but the lockdown finally gave me enough motivation and time to do so.”
Every year, Japan celebrates a big holiday known as Golden Week. It’s usually the busiest time for travel, shopping, dining, and various outdoor activities. All of the special events were canceled this year when people were asked to stay at home.
Even mountain trails were closed off to discourage people from going out during the holidays. So, those who love the outdoors began looking for alternative ways to enjoy nature and the perfect early summer weather without having to leave their abodes.
“We both used to camp a lot as children, and we wanted to recreate that experience of sitting outside and chatting with some drinks”
With their camping ideas in mind, Clare and Miho set their plans in motion and began their balcony makeover.
Getting Started With the Camping Makeover
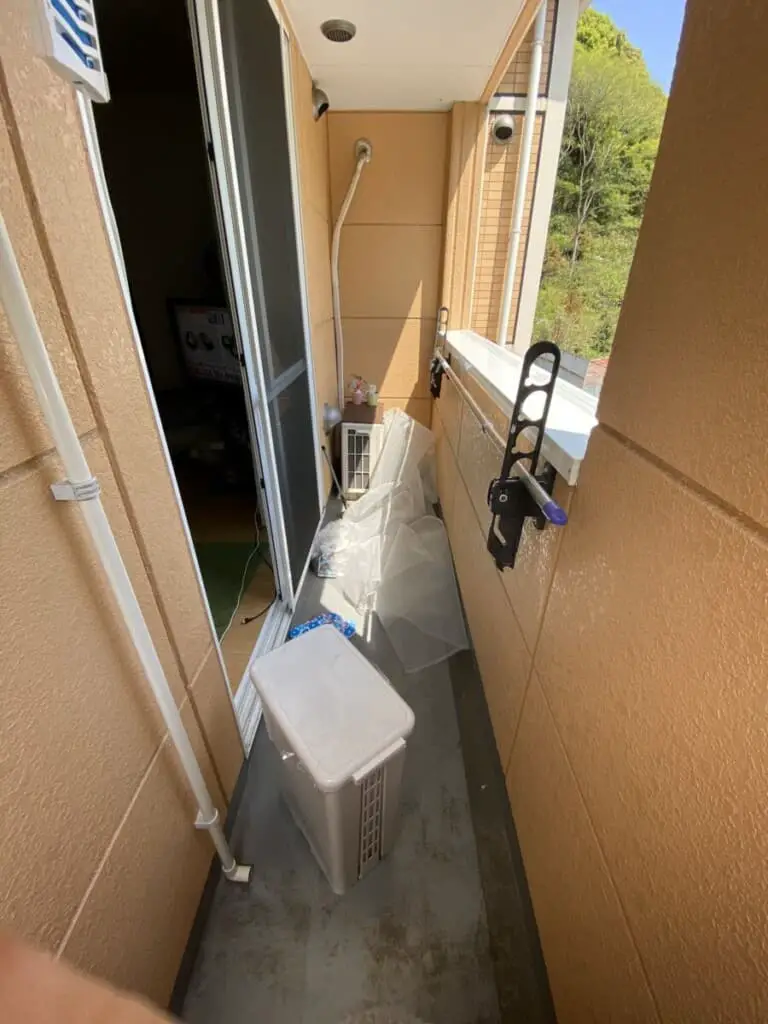
The first step to the camping makeover is to clear off everything on your balcony and give it a good scrub down. I know that sounds counterintuitive—camping is meant to be dirty, right? Although that’s true, this makeover involves using artificial grass and other materials that’ll work and look better on a clean surface.
“Before it was too dirty to go out without putting our balcony sandals on, so we scrubbed the floor clean and laid fake grass over it so we could go out barefoot.”
No one likes stepping outside and getting mud, dirt, or whatever else stuck to their feet. Clare and Miho eliminated that concern by scrubbing down their balcony floor until it was pristine. Now they can walk between their house and balcony freely without having to worry about putting shoes on.
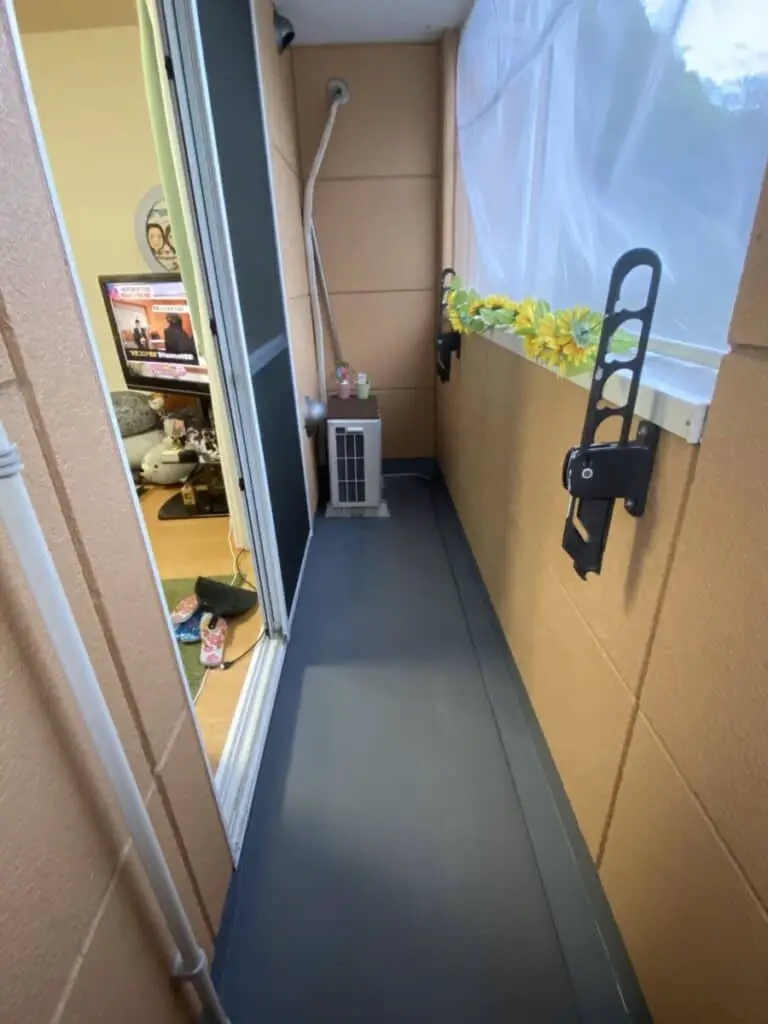
Look at what a huge difference a clean balcony floor makes! It already feels more spacious and inviting. A bucket of warm water and a large scrub brush are usually all you need to get the flooring to look like it’s new.
For particularly soiled balconies, you could try adding just a bit of dish soap to the water to help loosen up any tough gunk.
Keeping the Bugs Out
Just like a real camp, bugs can be a huge nuisance. There’s nothing worse than trying to enjoy some time outside only to have it interrupted by the dreaded buzz of mosquitos in your ears. There’s also a chance they’ll follow you inside your home when you try to escape them.
There are various methods to keeping bugs off of your balcony, but Clare and Miho came up with a particularly genius one.
They needed an effective way to prevent bugs from coming onto their balcony and entering their home, but at the same time wouldn’t damage their rental property. That meant that they couldn’t use nails, staples, or anything else that would leave holes or scratches behind.
Here are the materials needed to keep the bugs out:
- Bug nets that are large enough to cover the opening of your balcony.
- Tension rods that are extendable and can reach from wall to wall.
- Outdoor tape to seal gaps between the net and wall.
A very light loose net works best for this makeover—the thinner it is, the easier it’ll be for the tension rods to hold it in place. Try to find one that will let in a lot of light and will enable the air to flow through it easily. Otherwise, the net may end up blowing away!
This is a two-person job and not recommended if you live very high up in a multi-story building.
Steps to installing the bug net:
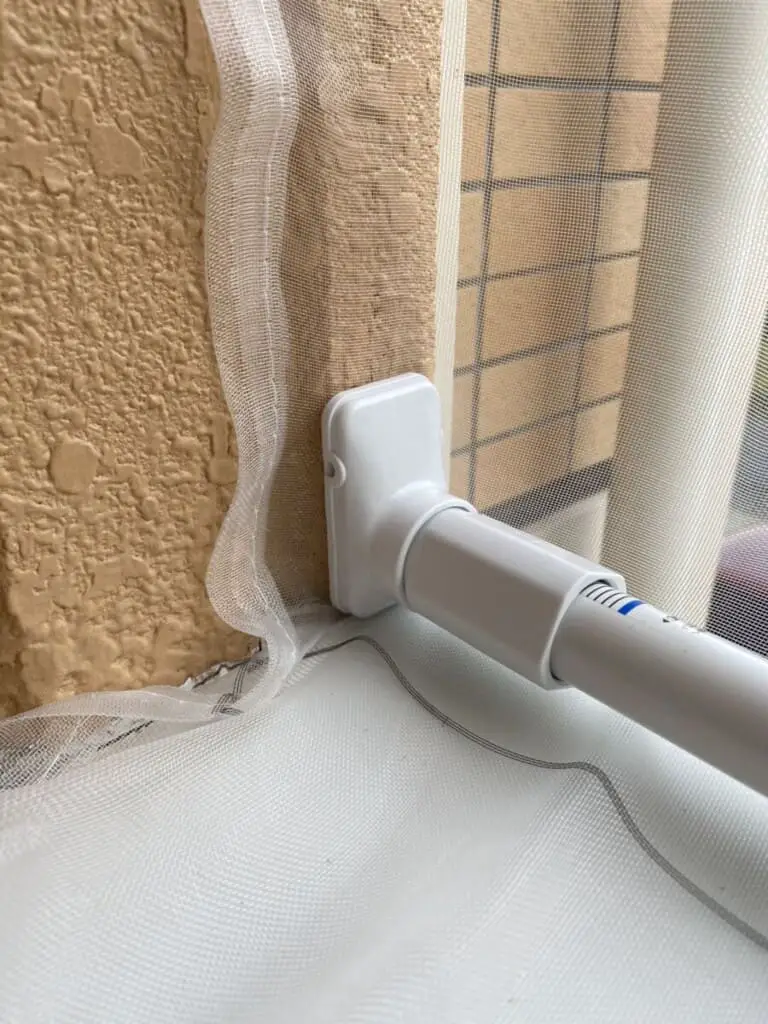
- Place a piece of outdoor tape at the top left and right corners where the net should hang from. One person should be supporting the other while they do this.
- Adhere the net to the top two corners. Try not to leave a gap between the top of the balcony wall and the net.
- Place the first tension rod at the top of one of the corners, and extend it until it’s firmly in place.
- Put outdoor tape along the sides of the balcony wall for the net to stick to. Do this where you notice any gaps.
- Drape the excess net towards the inside of the balcony.
- Take the second tension rod and place it at one of the bottom corners. Then extend it to the opposite corner until it is firmly holding the bottom of the net in place.
- Cut off any excess netting if there is too much.
After you get the bug net installed, it’s time to start decorating your balcony!
Decorating the Balcony Camping Area
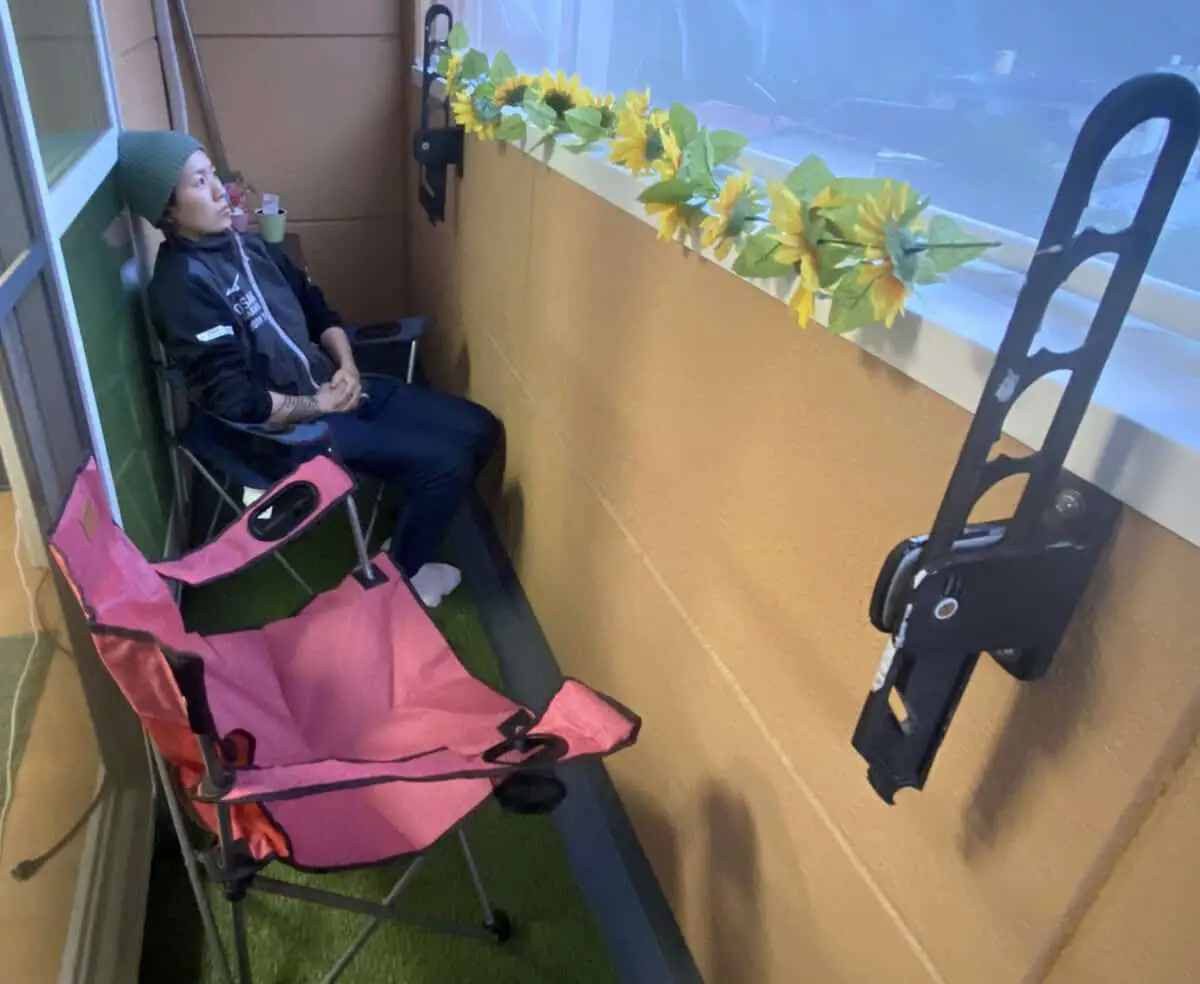
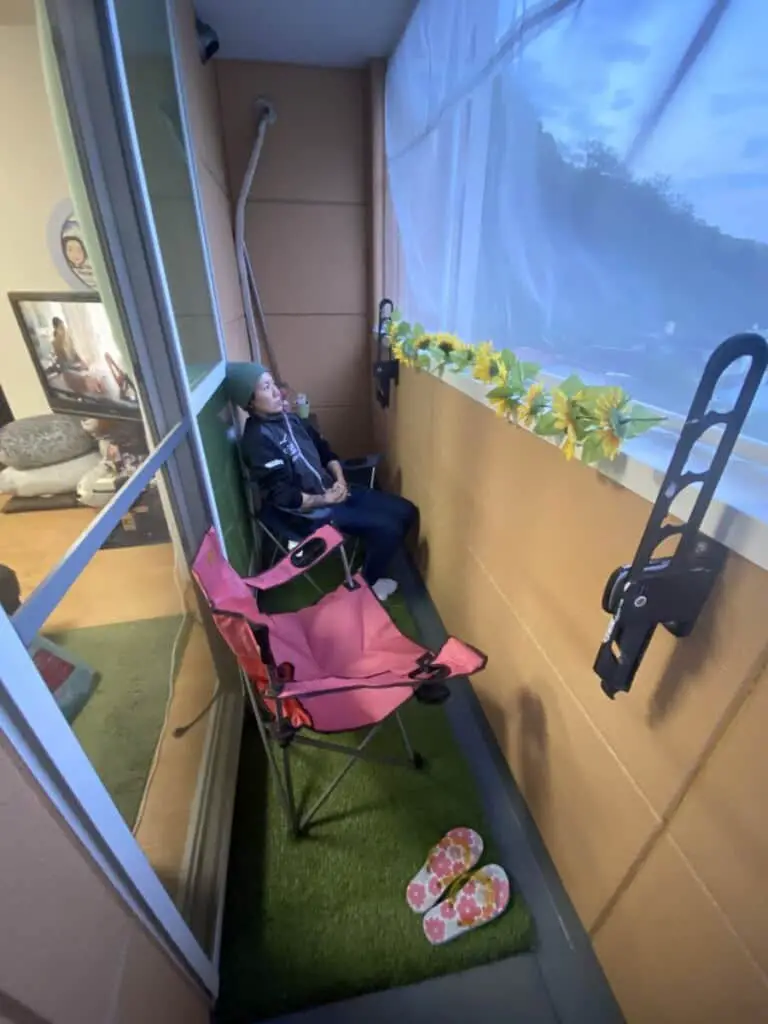
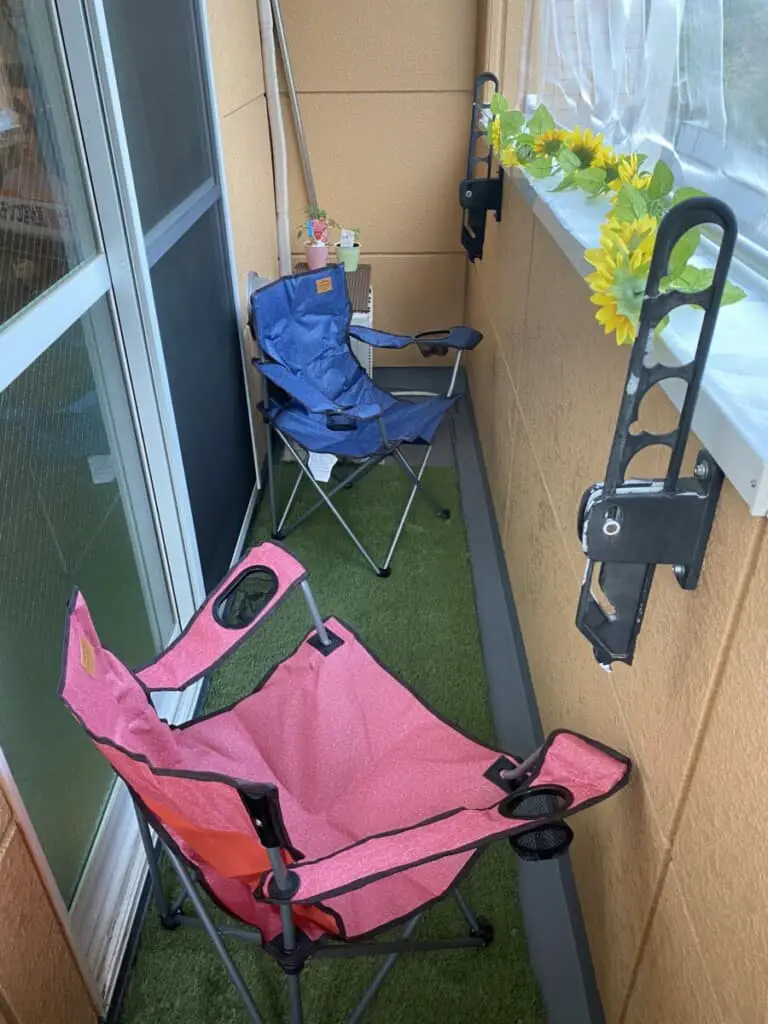
Now it’s time for the fun part—making your balcony look like the great outdoors! Clare and Miho started by lining the bottom tension rod with bright yellow sunflowers. You can use any kind of decoration you like just as long as it’s lightweight and won’t cause the rod to fall.
Once that was done, they laid some artificial grass along the balcony floor, while carefully leaving the drainage area uncovered.
You could also use wooden blocks or stones to adds more texture and color.
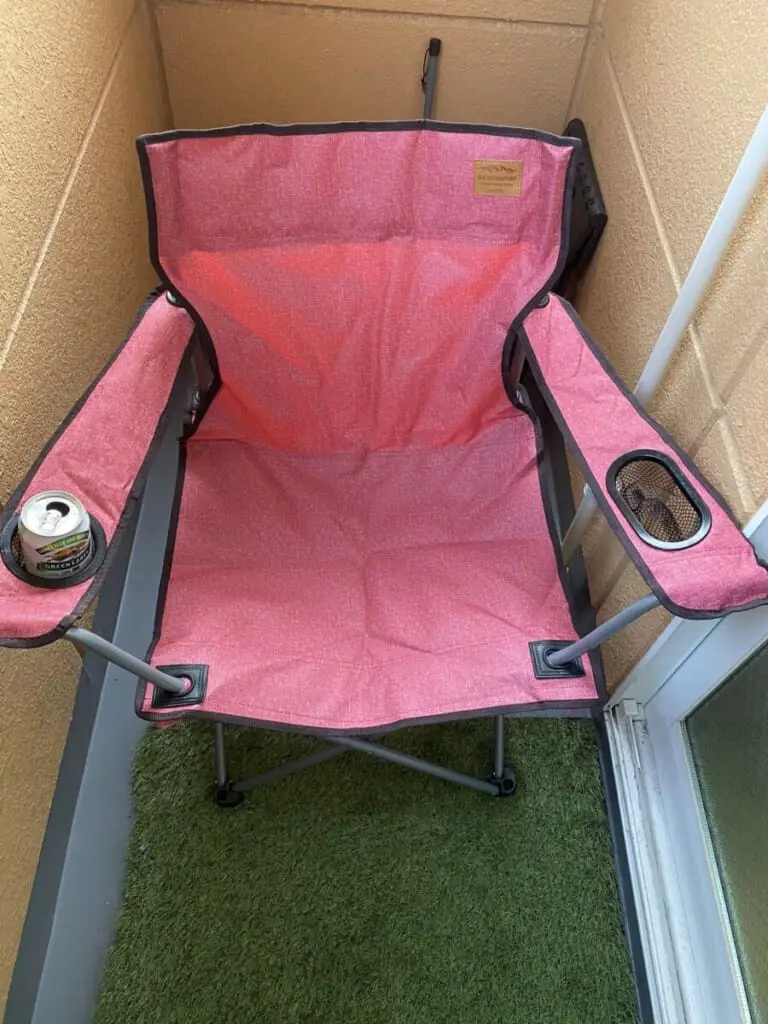
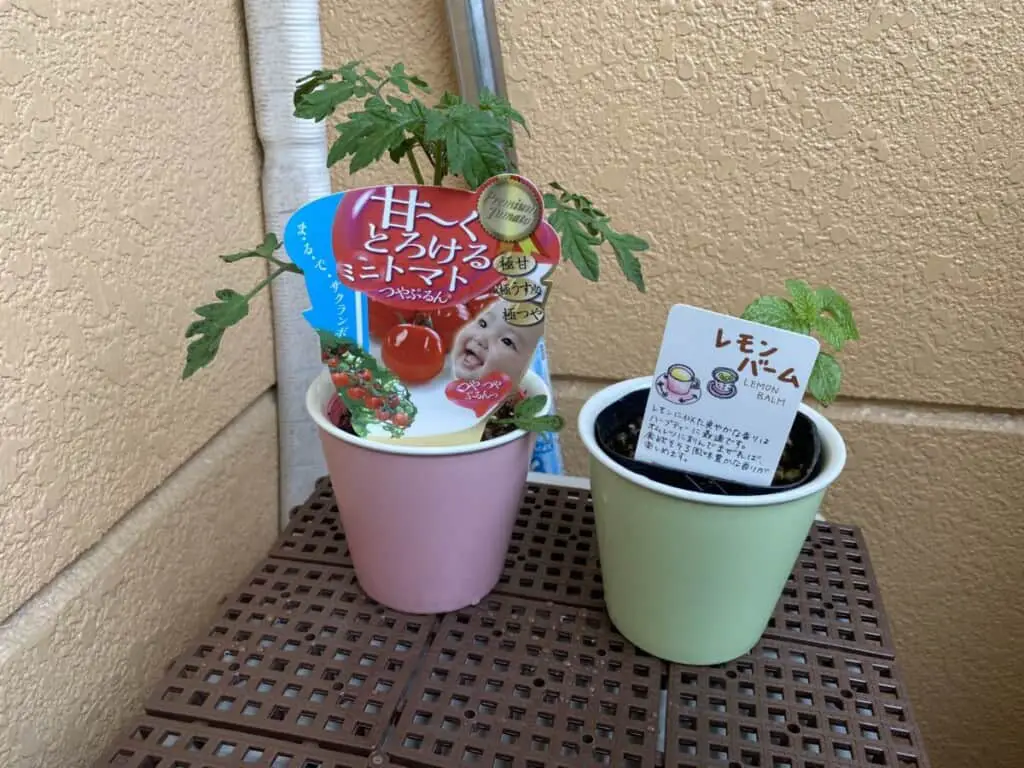
“We added fake sunflowers, real lemon balm, and real baby tomato plants for some extra green. I always wanted to try and grow something on my balcony. Lastly, we put out two cute camping chairs with cup holders in an effort to replace the non-existent beer gardens this summer.”
Clare and Miho’s balcony makeover turned out clean and refreshing. They made it look simple and easy to do, but it ended up taking them 3 days to complete! Luckily, you could probably finish this within a few hours thanks to them sharing their design and the process.
Final Thoughts
This balcony makeover cost just under $200 USD, and you may be able to recreate it for cheaper depending on the prices in your area. With just a few hours of work, you could be enjoying your own private camp right outside your apartment.
So what are you waiting for?
If you liked this balcony makeover and would like to see more from Clare and Miho then check out their YouTube channel or their Instagram.
Have fun decorating!