Growing a vegetable garden in condominiums or apartments is quite different from a large farm. Due to the limited space, you can’t grow many crops that you would on a farm. Fortunately, you can grow a healthy crop of potatoes right on your balcony.
To grow potatoes on a balcony, it all starts with selecting the right type of potato, getting a properly sized container, and following smart planting techniques like growing your potatoes after the last frost of the year and using the right mulch.
If you don’t know how to grow potatoes on a balcony, this detailed article will guide you from start to finish. Here’s how to do it.
Get a Large 10-Liter Container
Growing potatoes on a balcony isn’t as easy as growing them in a field or garden. There are quite a few things you need to take into account.
First of all, the container is a critical consideration.
Potatoes need deep, rich, loose soil. So, you must get a big container and make sure it has holes near the bottom.
A 10-liter (2.5-gallon) pot will provide enough space for your potatoes to grow to their full capacity. It should also be 60 centimeters (24 inches) deep, so the tubers don’t end up growing above ground.
Those living in temperate climates must guard against cold temperatures, which can affect potato growth. You can keep your plants warm and cozy using a black plastic bucket. The black color absorbs heat to keep things warm inside, and the plastic will retain moisture.
Just make sure that your soil-filled container is within the weight limit of 100 pounds per square foot (45 kilograms per 0.09 square meters) that balconies are required to support.
Get Loose Synthetic Soils
As mentioned, you’ll need loose soil if you want your potatoes to thrive.
To get loose soil, you should use synthetic soils. Synthetic soils are best suited for container plants. They are made of such planting media as:
- perlite
- wood chips
- sawdust
- peat moss
- vermiculite
Start with filling the bottom of the container with coarse gravel for better drainage. Then add your soil on top.
Ensure Your Plants Get Enough Water and Sunlight
Besides the soil, another important aspect is watering.
Don’t water too much or too little. One time per day is enough. Don’t miss any day of watering, since your plant has no other water source unless rain falls on your balcony.
Sunlight is just as important.
Make sure to place the plant container in a location where the sun will shine on it. It’s necessary to do this before adding the soil since you might not have the strength to move it once it’s full of soil.
Once that is done, you’re ready to select the right potatoes.
Get Small “New” Potatoes
When thinking of the best kind of potatoes to grow on your balcony, a critical consideration is how soon it will be ready to harvest.
Since you can’t grow many potatoes in your small balcony space, you can at least select potatoes that grow fast.
Also, potatoes won’t grow big in containers as they would on the farm. Therefore, it’s no use planting the large russet varieties. Besides, such large baking potatoes do poorly in hot summer weather.
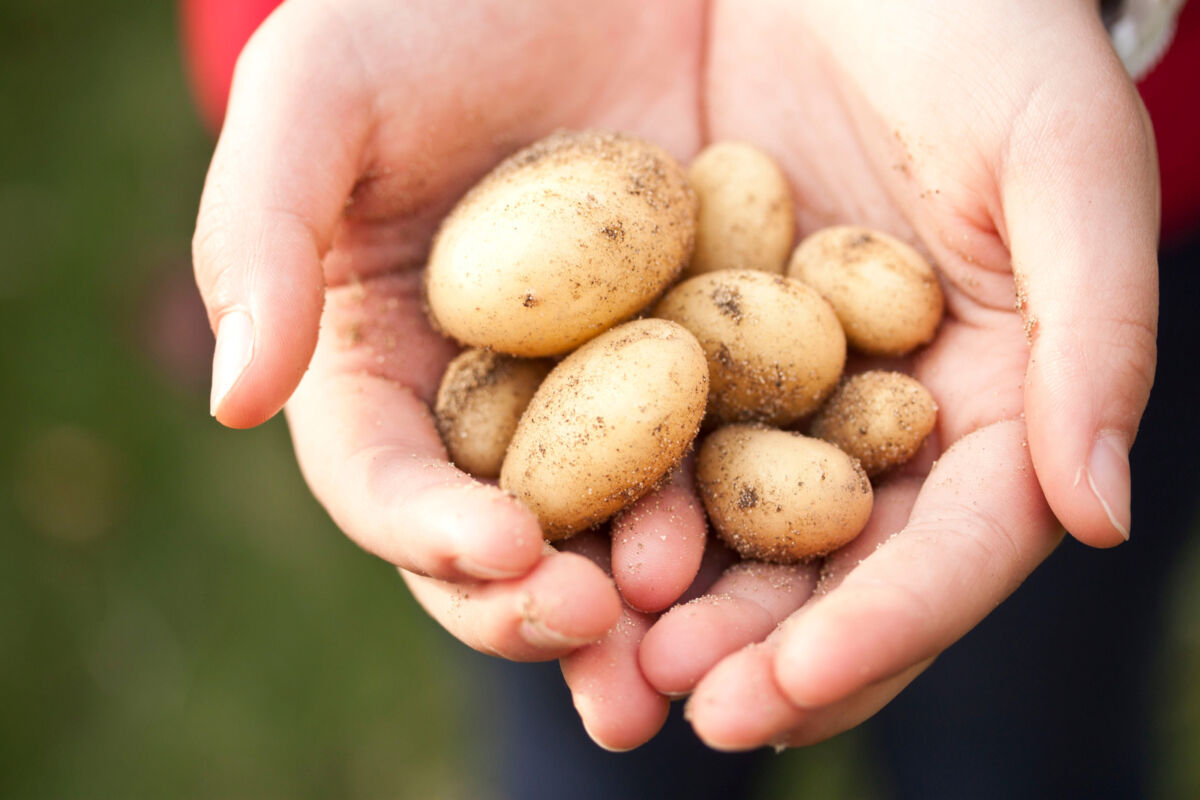
Instead, go for the small “new” potatoes. These are red in color and grow pretty fast.
While making your selection, look out for mid or late-season varieties. These types continue forming tubers for longer periods than early-season types.
Buy Seed Potatoes From Reputable Seed Catalogs
The planting process starts with a seed potato, which is simply a potato that you’ll use to grow the potato plant.
Buy seed potatoes from reputable seed catalogs or garden centers.
Why not just buy grocery store potatoes?
Although grocery store potatoes may be easier to access and probably cheaper, they may have chemical sprout inhibitors. That makes them useless as seed potatoes.
On the other hand, seed potatoes from reputable seed catalogs are typically disease-free, which ensures a high growth rate.
Prepare the seed potatoes between twenty-four and forty-eight hours before planting.
During that period, you can divide large seed potatoes (larger than a chicken egg) into 1-2” diameter pieces in order to get multiple different plants. Just make sure each piece has one or more “eyes.”
Let the divided potatoes dry out for one or two days. Planting it before the wound heals could lead to rotting.
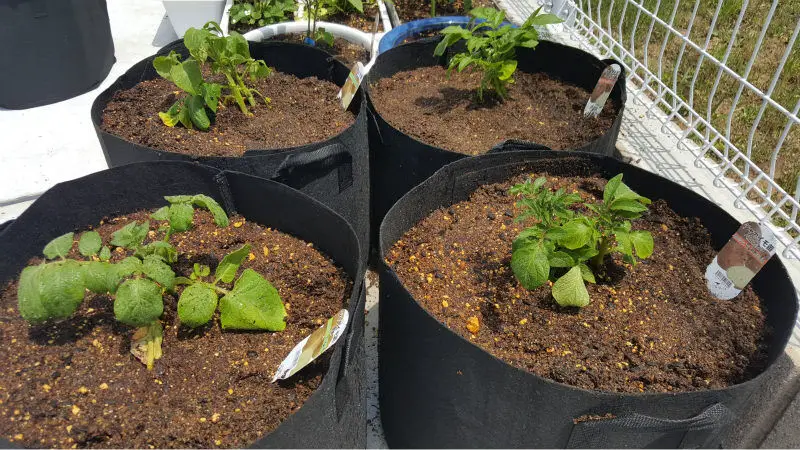
Don’t Overcrowd Your Pot
When planting, make sure not to overcrowd your pot.
Place about four seed potatoes in a 40-liter (10-gallon) container. This will give the plants sufficient room to grow and access water or nutrients.
You can also estimate the number of potatoes to plant-based on the pot diameter. For a pot that’s 12 inches in diameter, plant three seed potatoes or less.
Plant in Early Spring
Proper timing is crucial for the success of this operation.
So, when is the right time?
You must wait until the early spring to plant your potatoes. This is because the growth of your potatoes depends on the soil temperature. The potatoes need temperatures above 40°F (4°C).
That means you shouldn’t plant during the winter.
Also, make sure the soil isn’t water-logged. That can lead to rotting of your seed potatoes before they have a chance to sprout. The soil should just be moist.
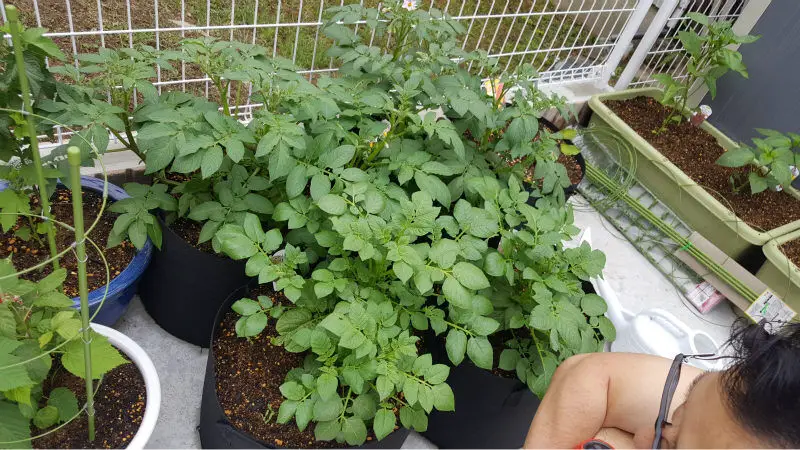
Use Mulching to Block Sunlight on Tubers
As the potatoes grow, mulching is necessary.
You need a blanket of organic material to block the sun’s rays from reaching the shallowest tubers as they grow. This is vital since the productivity of your crop will fall when the roots warm up.
The best time to add the mulch is when your plants are ankle-high.
The proper mulching process is to first mound loose soil around your plants. Make sure the added soil gives an extra two inches of covering. You can then add as many layers of mulch as possible.
Any biodegradable mulch is good. However, straw can be a problem due to price and pesticide contamination. Other alternatives are grass clippings and weathered leaves. You can even combine different materials.
The best mulch keeps the plant’s root zone moist and cool. Leaf mulch offers these benefits. Rutgers University even carried out a study that showed that leaf mulch produced prettier, more uniform tubers.
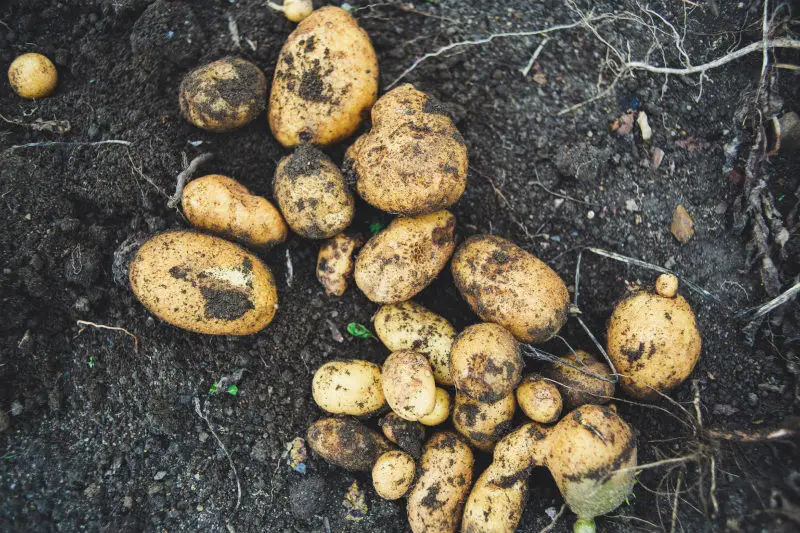
Harvest Your Potatoes
Harvesting is the final step, and it isn’t so complicated.
When you see the tops yellowing and dying back, it’s time to harvest. Harvesting can also start after the first frost in the fall.
How easy is it to harvest potatoes in a container?
Simply spread out a tarp on your balcony floor and tip the pot onto it.
Now, all you have to do is sift through the soil to pick out your tubers. Do it gently since the potatoes can bruise easily.
Brush out excess soil, but don’t wash the potatoes unless you’re ready to cook them. You’ll likely injure the skin when washing, which will promote rotting. Then dry them out in an area away from the light to avoid greening.
If you’re not cooking your potatoes right away, store them in a cool, moist, dark area. Your basement or root cellar are good options.
Conclusion
These basic steps can help you deal with the major issues when growing potatoes on your balcony. Simply following those steps strictly will help you avoid many other challenges like poor growth.
As long as you use healthy tubers, new potting mix, and a clean container, your plants will also have less chance of pest attacks or disease infection.