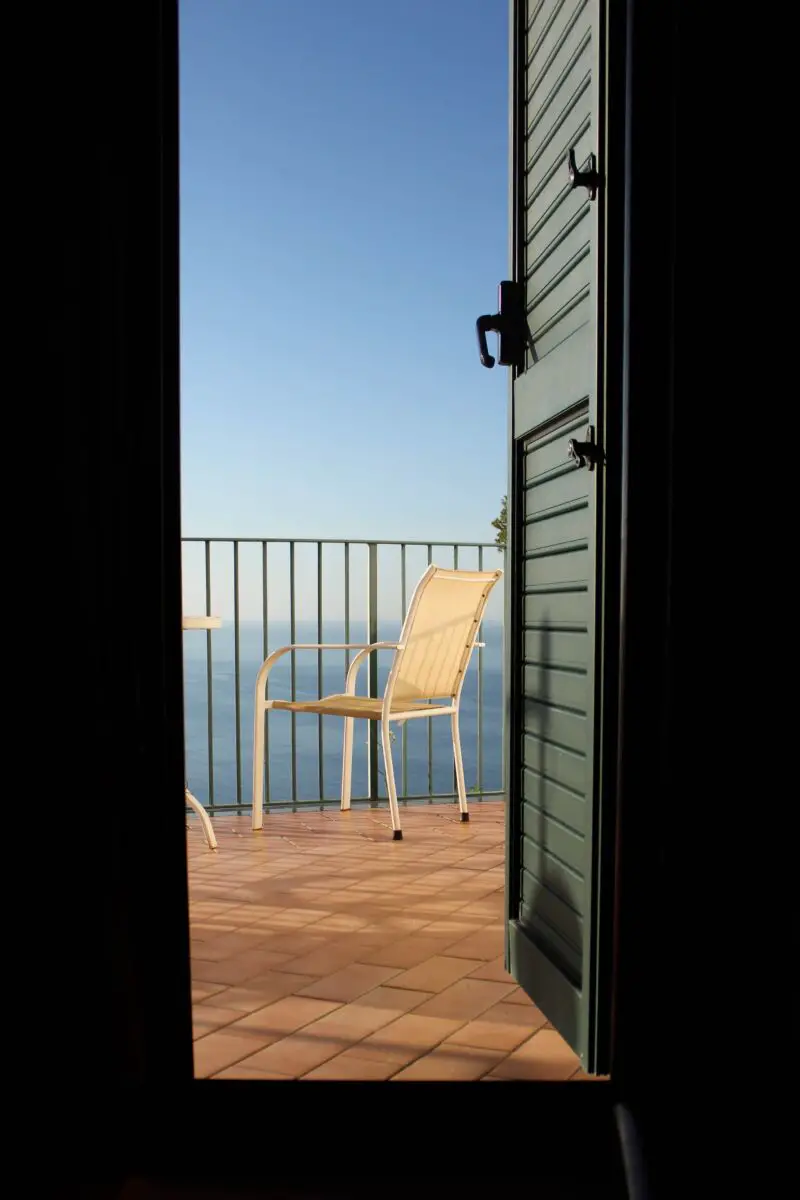
It’s easy to make the mistake of thinking that tiles are waterproof, so that tiling a balcony is enough to protect the substrate. That can be an expensive error to make. Before you do any tiling, you should first think about how to waterproof a balcony for tile.
The process of waterproofing a balcony for tile starts with the preparation of the surface. It must be smooth and clean. Only then can you apply a waterproof membrane to it. You’ll need to test the membrane once applied to ensure it works before you tile.
As with most jobs, it’s all about the preparation. Because there’s no need to worry about seams, we’ll focus on using a liquid membrane rather than a sheet. So, if you want to discover how to waterproof a balcony for tile, follow the step-by-step guide set out below.
Get Organized With Your Tools and Materials
Here’s a summary of what you’re likely to need.
| Preparing the balcony surface | High quality, water-resistant, paintable caulk Hammer Chisel Wire brush Vacuum Backer rod Putty knife or trowel |
| Cleaning the balcony surface | Stiff broom A pressure washer with detergent, or Stiff scrubbing brush, water, and detergent |
| Waterproofing | Liquid waterproofing membrane Polyester or fiberglass mesh tape Putty knife 3/4” (2cm) nap synthetic roller, paint tray, and paintbrush 3/16”-3/4” (0.5 to 2 cm) v notch trowel |
Fill Cracks and Holes in the Balcony Surface
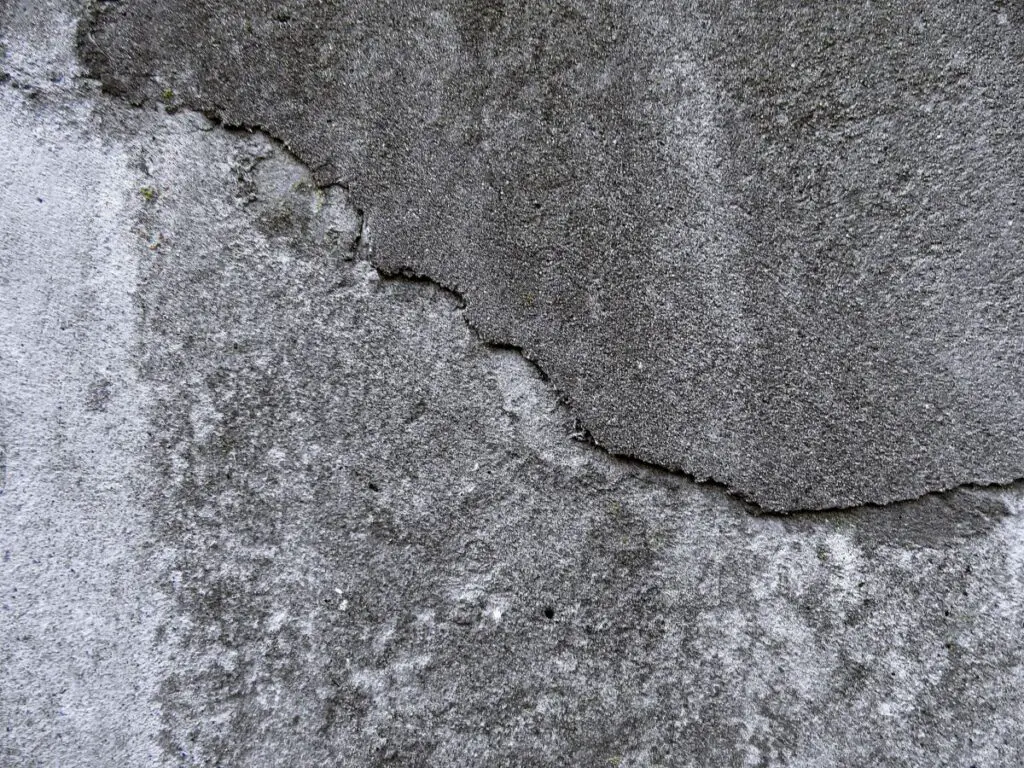
It may be tedious, but ensuring your balcony’s surface is smooth and defect-free will save you a lot of hassle later on. You’ll need to do this and the following step, even if using a sheet membrane.
On a concrete surface, make sure you repair all cracks and holes. Use a high-quality water-resistant acrylic caulk like Red Devil 0646 Gray Masonry and Concrete.
There are some handy tips for dealing with cracks in this video. It shows how to chase out smaller cracks using a hammer and chisel. You can also see how to clean out the debris from the cracks and how to use a backer rod:
Once you’ve filled the cracks, smooth the caulk so that it’s flush with the surface.
On a wood substrate, caulk joints and ensure nail or screw heads are level with the surface. Caulk over them if necessary. You don’t want any protrusions.
Allow the caulking to dry, and check the manufacturer’s instructions for timescales.
Clean the Balcony Surface
The balcony surface must be clean before you start waterproofing. That means removing any dust, wax, adhesives, or any other contaminants that might inhibit bonding.
To clean your balcony surface:
- First, remove things like railing posts attached to the surface. Then, you’ll need to sweep the balcony to clear all loose particles and debris.
- Once done, pressure wash or scrub the entire surface thoroughly with detergent and water.
- After that, you’ll need to let it dry for at least twenty-four hours.
If you chose to use a sheet membrane, you’d need to prime the substrate with a primer at this stage. Once dry, you can then lay the membrane. In contrast, you can apply most liquid membranes directly to the substrate.
READ ALSO: How to Get Rid of Green Moss on Your Balcony – 9 Easy Steps
Check the Weather Is OK for Applying Liquid Membrane

It’s crucial to apply a liquid waterproof membrane in accordance with the manufacturer’s instructions. The precise requirements will differ according to the product.
Generally, for external waterproofing like a balcony, you should avoid days when rain is forecast. So, forward planning is a necessity.
Ideal conditions are typically around 70°F (21°C), with about 55% humidity. Again, check the specifics for the product you’re using.
Precoat Crack Repairs With the Liquid Membrane
Before you apply your first coat of waterproof membrane, pre-coat and tape the repaired cracks.
Apply the liquid membrane with a brush along all the repaired joints in a line centered over the cracks.
While the coating is still tacky, press polyester or fiberglass mesh tape smoothly over the coated strip. Then, brush another layer of liquid membrane over the tape and on either side of it. Make sure you smooth out wrinkles in the tape.
Then allow the coating to dry. Check the manufacturer’s instructions for drying times, but expect to wait around two hours or so.
Precoat Wall-Floor Joints With Liquid Membrane
Another area to pre-coat is the joints where the wall of your building meets the surface of the balcony.
- Using a brush or roller, apply a liquid membrane about 6” (15.25cm) up the wall and out from it. Then, apply polyester or fiberglass mesh tape over these joints. To do this, you’ll need to crease the tape lengthways.
- Then, apply the tape so that half is on the vertical wall surface, and the other half is on the horizontal balcony surface.
- Press the crease of the tape tightly into the angle using a putty knife. Then smooth it down against both the wall and balcony surface.
- Do the same around any railing posts that you couldn’t remove and flashing to seal where they join the balcony surface. That will prevent water seeping underneath these fixings.
- Make sure you also coat and tape around any insets on the balcony surface, such as inset lighting.
- Next, paint the tape with the liquid membrane making sure you cover all the tape.
- Then, allow it to dry. You’ll need to do this step with a liquid membrane, even if you’re using a sheet membrane. You’d do it once you’d laid the sheet membrane. You’d also tape and paint over sheet joins.
- When the liquid membrane has dried, you’d then be ready to flood test. We explain flood testing later.
You can see the process of dealing with joints and seams when using sheet membrane in the following video:
Apply the First Coat of Liquid Membrane
If you’re using a roller, you’ll need to overlap each stroke to ensure you don’t miss any spots. Strokes should be vertical or horizontal, not both.
If you use a trowel, first apply the liquid membrane with the notched edge. Then, use the straight edge to ensure you smooth out all the grooves.
You’ll need to check the manufacturer’s instructions on the rate of coverage you need to achieve. For example, it might say ¾ gallon per 100ft² (2.84ltr per 9.3m²). Using that application rate, you’ll end up with the required dry film thickness. That’s the thickness necessary for the membrane to provide waterproofing.
After each coat, you can check if you’re on course by calculating the wet film thickness that will give the required dry film thickness.
To calculate the wet film thickness, you divide the required dry film thickness by the percentage of solids in the liquid membrane. So, if you need 30mils of dry film thickness and you’re using a liquid membrane containing 60% solids, the wet film thickness is 50mils.
You can see how to use a wet film gauge to measure wet film thickness in the following video:
Once you’ve applied the first coat to the balcony surface, you’ll need to leave it to dry. Check the manufacturer’s instructions for the drying time. But, bear in mind that drying times will depend on conditions.
Apply the Second Coat of Liquid Membrane
Before applying the second coat of liquid membrane, inspect the dried first coat. If you see any holes in the surface of the coat, go over them with more membrane using a brush.
Once that’s done, you’ll need to apply your second coat at right angles to the first coat. Don’t forget to check the wet film thickness once you’ve completed the second coat.
This video shows how to apply one type of liquid membrane, Redgard Waterproofing, and Crack Prevention Membrane, which goes on pink but turns red when it’s dry:
Some liquid membranes require additional coats, so check the instructions.
Flood Test the Membrane
You’ll need to do a flood test once all coats are dry, to ensure that the waterproofing is effective.
Essentially, you have to flood the balcony with water and leave it for about twenty-four hours. After that, you can see if any water leaked out.
If the test is successful, congratulations. You can now proceed to the tiling stage.
If not, you’ll need to find the leak and re-apply the membrane, then flood test again, until you’re satisfied that the balcony is waterproof.
Conclusion

Whether you use a liquid or sheet membrane to waterproof your balcony, ensure you follow the manufacturer’s instructions.
That way, you’ll avoid costly problems raining down on you in the future.