Wooden balconies add a lovely, earthy look to any house. If you love your wooden balcony, you know you have to protect it from the ever-changing and harsh weather effects. In most cases, water is the most disrupting agent, but now you can easily waterproof your wooden balcony to maintain its classic look and longevity.
To waterproof a wooden balcony, first clean it thoroughly and then sand it well. Then apply the first coat of a good waterproofing sealant. Repeat this process two more times, and let the coats dry completely before using your balcony.
It really is that simple, and the best part is that you can do this yourself. Follow the seven steps below to waterproof your balcony with simple instructions and no hassle.

1. Prepare for Waterproofing
You cannot just walk into your balcony and start the waterproofing process. Before you start, you need to take care of a few things.
Firstly, check the weather forecasts. You need to be 100% sure that you are going to have a rain-free week. Yes, you read that right: not one day or two, but an entire week. The last thing you need is rain spoiling your efforts to protect your balcony.
Secondly, you should check your balcony’s solidity. This part is easy to skip as you may be excited or impatient to start, but stop yourself from rushing in. This is an important step and should not be skipped. Check if there are any loose boards, or rotting wood or protruding nails that need to be hammered down. Take the time to really inspect your balcony and make the necessary repairs before you start the waterproofing process to ensure the best results.
READ ALSO: How to Waterproof a Second Floor Balcony – 6 Easy Steps!
Lastly, you should clean your balcony. Remove all of the furniture pieces and potted plants. If you cannot remove the plants, then cover them with a drop cloth (never use plastic here as that can create a dangerous greenhouse effect!). If possible, use a high-pressure water hose to clean your wooden balcony.
You can also use products like Simple Green Oxy Solve wood washer to remove any mold and dirt effectively. To scrub your wooden balcony, use a stiff-bristled brush, such as the Shurhold 1950 Marine Mate brush, which comes with a long handle and is easy to use.
2. Sand Your Wooden Balcony
Now that you have thoroughly cleaned your balcony, it is time to sand it. For this, you will need both rough and fine sandpaper.
Start with the rough sandpaper, such as the Fandeli Assorted Grit sheets, to get rid of any previously applied sealants, and attain a smooth surface. Remember to sand in the direction of the wood’s grain, and not against it, to protect it from damage. Then use fine sandpaper such as the Ultra Fine Sandpaper, to enhance the smoothness of your wooden balcony’s surface.
Once you are satisfied with your results, brush away any sanding residue or debris.
3. Apply the Sealant to the Balcony
After sanding, you can start waterproofing your balcony with a sealant. When you are going to buy a sealant, you will be faced with many options, each suitable for particular purposes. Since a balcony is an outdoor part of the house, in your case, it is better to choose a sealant that will protect your balcony from water, UV rays, and other harmful agents. Some of the most recommended sealants are Thompson’s Waterseal or the Marine Premium Wood Sealer.
Once you have bought the sealant of your choice, you can start applying the first coat. Depending on the size of your balcony, you may have to use a spray (for easier application in case your balcony is too big) or a good brush such as the Linzer 3121 0400 Stain Waterproofing brush.
When applying the first coat, make sure you apply it evenly all over your balcony and in the direction of the wood boards for a cleaner look. Then let it dry for around four to ten hours or according to the instructions on the sealant’s box.
4. Sand the Balcony Again
Once the first coat of sealant has dried, you need to sand your balcony again. The second sanding will help the second and third coats of the sealant to stick better. When sanding over your first coat of sealant, use very fine sandpaper or a ball of steel wool with grade 0000, such as the Red Devil 0310 steel wool.
Once you are done, clean off any debris or sand residue before proceeding to the next step.
5. Apply the Final Coats of Sealant
For effective waterproofing, it is recommended to apply the sealant three times. Once you have applied the first coat and sanded your balcony again, you can apply the second coat. Follow the same rules and apply them as evenly as possible. Then let it dry completely. Remember that each new coat of sealant will take longer to dry than the previously applied coat.
To apply the third and final coat, use very fine sandpaper or 0000 steel wool to gently sand your wooden balcony one last time. Once you are done, clean off any debris.
Apply the third coat over the freshly sanded and clean surface of your balcony. This is your final coat, so pay more attention to getting every nook and cranny of your balcony coated with the sealant. Once you are satisfied with the results, step off the balcony to let it dry.
6. Allow Ample Time for the Balcony to Dry
Once you have applied the final coat, you have to allow the sealant to properly settle in. Do not rush to bring your BBQ grill, furniture, or plants onto your balcony. You have to let it dry for at least 2 – 3 days or 48 hours before you can start using your wooden balcony.
7. Test If the Balcony Absorbs Water

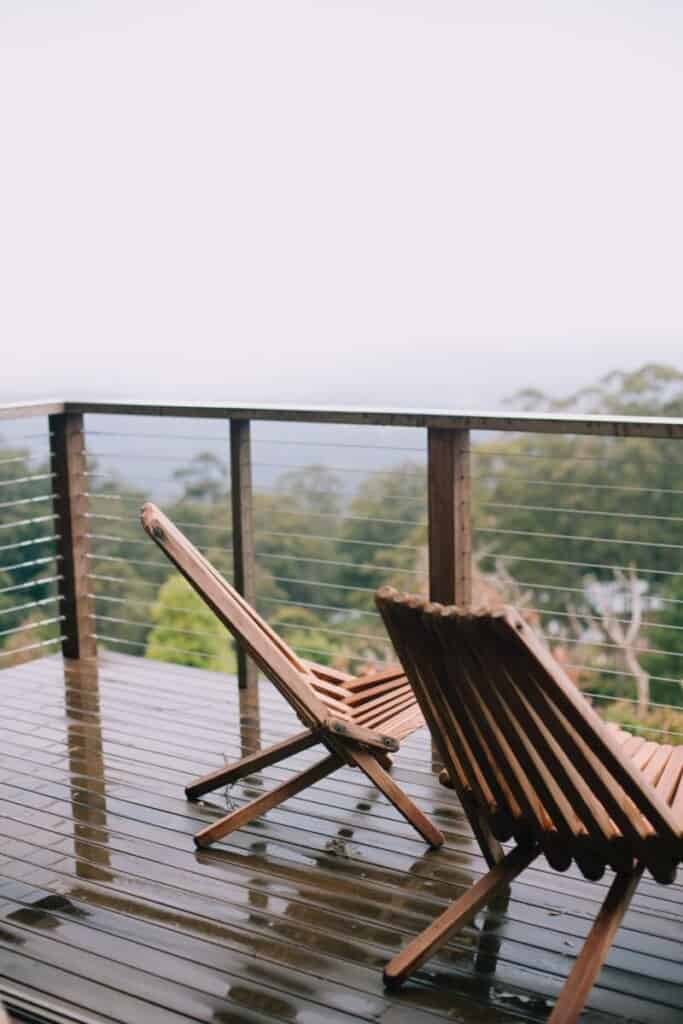
Once sufficient time has passed since you finished your waterproofing process, and it hasn’t rained yet, then you may want to check if you did a good job or not. This is probably the easiest step in this process. All you have to do is pour a glass of water on your wooden balcony.
If the wood absorbs the water, then you have failed as the water is seeping into the wood. However, if the water forms tiny beads on the surface, then give yourself a pat on the back because this means you have done a good job.
The Right Wood for Your Wooden Balcony
While waterproofing is important, the type of wood your balcony is made of makes a difference too. If you have bought a house with a pre-installed wooden balcony, then properly waterproofing it should suffice. However, if you are thinking of installing a new wooden balcony, then choosing the right type of wood is necessary.
The most suitable woods are Redwood, Cedrus, and Cypress. These woods are naturally resistant to water and water insects. But they can be a little expensive. A less expensive option is pine pressure-treated wood. This wood is treated with chemical mixtures to become resistant to damage by sun and water. This paired with waterproofing agents such as sealants can be a great choice for your wooden balcony.
READ ALSO: How to Waterproof Your Balcony Before Tiling
Conclusion
Waterproofing a wooden balcony is extremely important for its maintenance and longevity. You can waterproof your wooden balcony yourself by following the seven easy steps explained in this article. This process requires some waiting periods and will take you about a week to finish, but the effort is worth it. You will be able to enjoy being in your cozy wooden balcony without worrying about its maintenance or protection.

